بررسی Site Recovery Manager 6.0 – نصب SRM 6.0
Category : دستهبندی نشده
بررسی Site Recovery Manager 6.0 – نصب SRM 6.0
Following the release of vSphere 6, there is also a new version of VMware Site Recovery Manager. The release notes can be found here, and mention a number of new features including:
- Support for VMware vSphere 6.0, including integration with shared infrastructure components such as Platform Services Controller and vCenter Single Sign On.
- Support for Storage vMotion and Storage DRS on both the protected and recovery sites.
- Protection and recovery of virtual machines in IPv6 environments.
- IP customization enhancements to support dual-protocol IP configurations and independent IPv4 and IPv6 configurations.
I’ve not really done anything with SRM since version 5.0, so thought I’d take a look at SRM 6 in my lab as a bit of a refresher. I’ve done a couple of posts about installing and configuring the HP StoreVirtual VSA (hereand here), which is acting as the storage in my lab environment. This post will look at installing SRM 6 and installing the SRA needed for it to communicate with the StoreVirtual appliance.
Installing Site Recovery Manager 6
SRM can be downloaded from this page on vmware.com. In my lab, I will be installing it on the same Windows servers as my vCenter 6 installs, of which I have two, representing a production and a DR site. Launch the install from the downloaded executable:

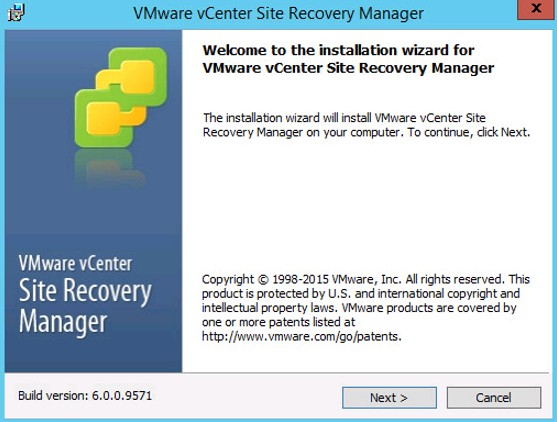
When the installer loads you’ll be presented with the first page of the SRM install wizard:
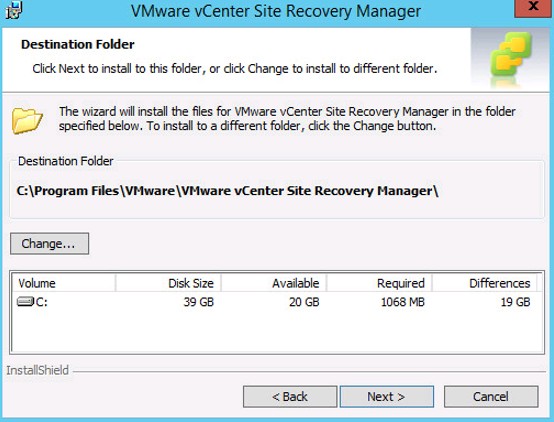
The next few screens cover the usual stuff – VMware Patents, License Agreement and a notification about prerequisites, before the first configuration choice, which is where to install SRM:
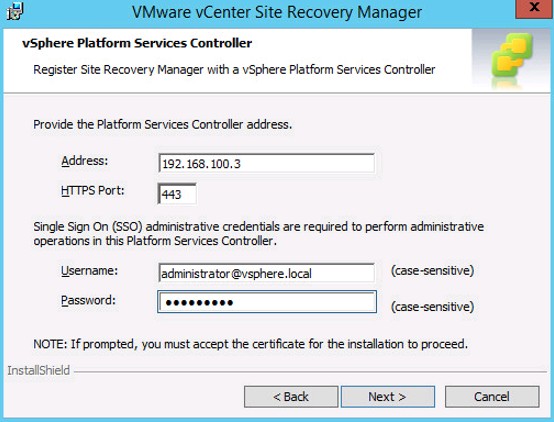
On the next screen, we need to configure which Platform Services Controller this SRM installation will register with:
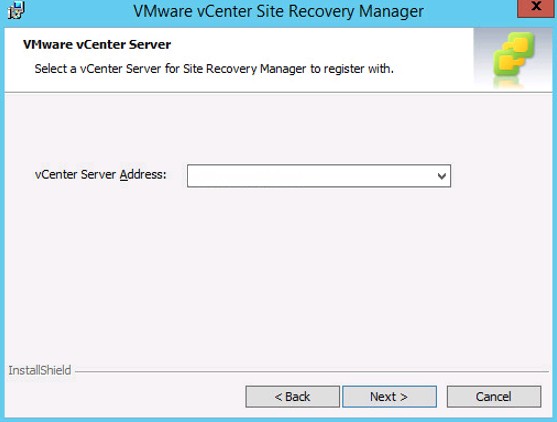
Next, choose the vCenter instance this SRM installation will be registered with:
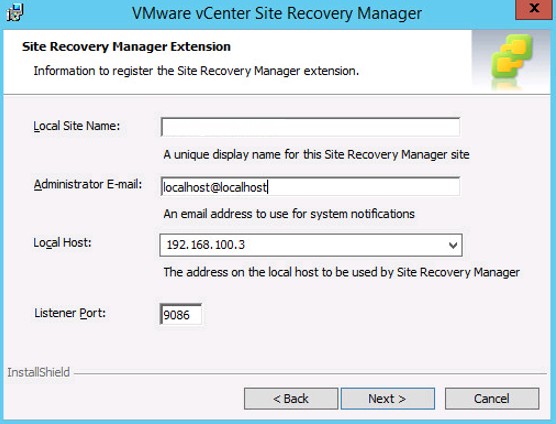
Next, configure the appropriate settings for the SRM extension – this configures how SRM will communicate with vCenter.
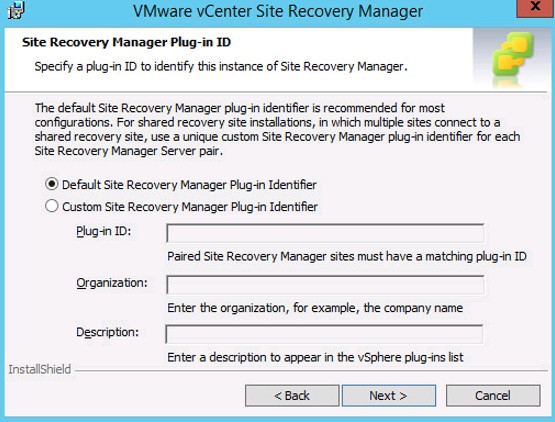
Next, there are the options around the Site Recovery Manager Plug-In ID. This is used if multiple sites are connecting into this SRM instance – in my lab I will be using a two-site configuration, so will use the Default Site Recovery Manager Plug-in identifier, as detailed here:
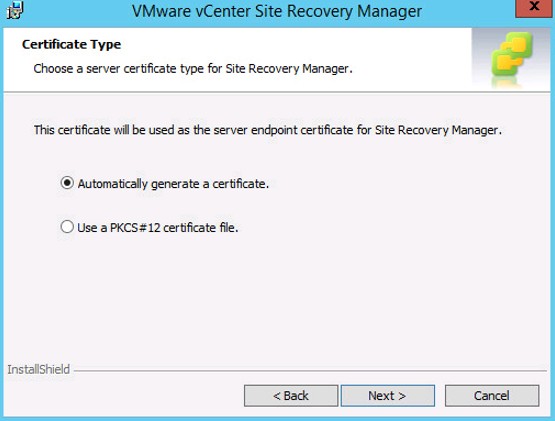
The next two screens cover configuring the certificate that SRM will use. In my lab environment I have chosen to use a self-signed cert, so will have the installer automatically generate one:
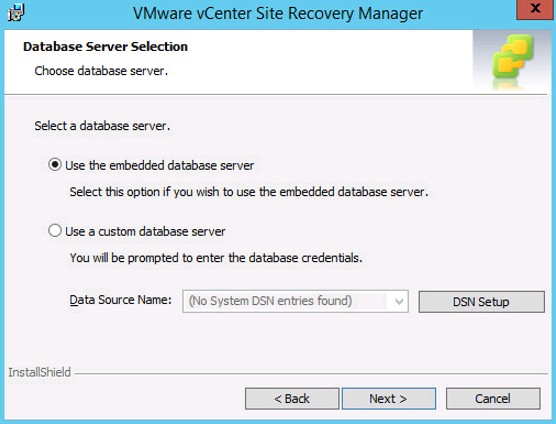
After the certificate options, the next step of the installation is to configure the database settings. I have chosen to use the embedded database…
… which then needs to be configured with a username and password:

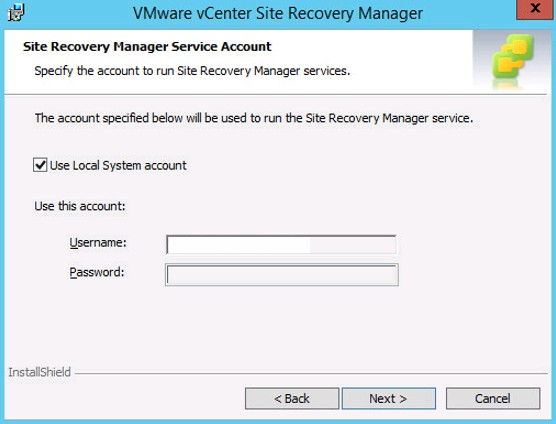
The next screen allows you to specify a service account which the SRM service will run under, or you can use the local system account:
Click next, then, on the final screen, click ‘Install’. Once the installer has completed successfully, you should have a ‘Site Recovery’ icon in vCenter:

Storage Replication Adapter Installation
In my lab environment, the next step is to install storage replication adapter so that SRM can communicate with my HP StoreVirtual VSA. Storage replication adapters for supported arrays can be downloaded fromhere. I have downloaded the one appropriate to my lab setup, which is:
![]()
Before beginning the install of the SRA be sure to check if there are any pre-requisites. The HP VSA SRA requires .net 3.5 to be installed for example. Running the install starts the SRA software setup wizard:

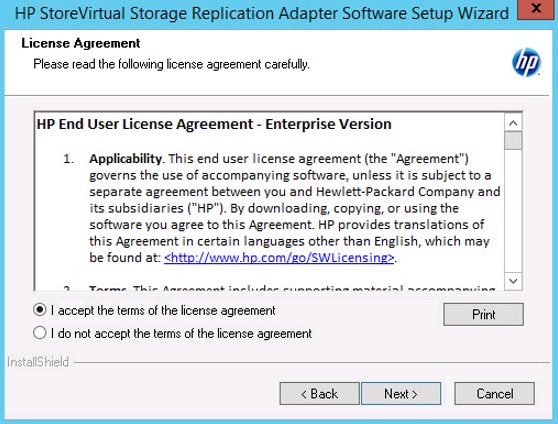
After clicking next, you’ll need to accept the license agreement:
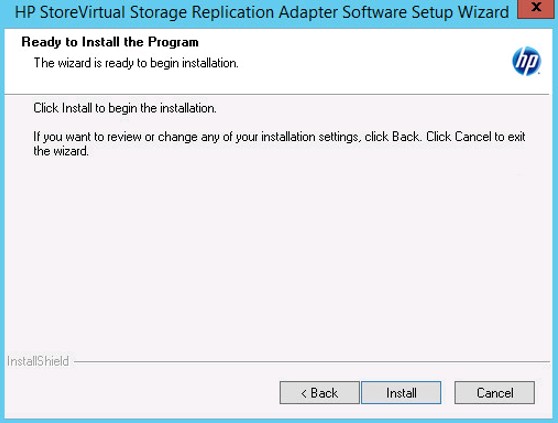
On the following screen, enter your customer information (Name and Company), then on the final screen, click ‘Install’:
And that’s it for the SRA installation. In my lab I went through the installation twice – once for my ‘Production’ site and again for my ‘DR’ site. My next post on SRM 6 will look at some of the initial configuration tasks, and connecting the two sites.
Keep up to date with new posts on Buildvirtual.net – Follow us on Twitter: Follow @buildvirtual


